Introduction:

Printed circuit boards (PCBs) are an essential component of electronic devices. They are the green-colored boards on which electronic components are mounted. PCBs can be found in almost all electronic gadgets, from smartphones to televisions. Soldering PCBs requires certain skills, but it is not impossible to do it yourself.
In this blog, we will explore the four steps to soldering PCBs and discuss some tips and techniques that can help you achieve successful results. We will also talk about the benefits of making your own small-scale PCBs.
Step 1: PCB Design and Manufacturing
The first step to soldering PCBs is to design them. PCB design software is available online, such as Eagle PCB, Altium Designer, and KiCad. PCB design software requires you to lay out the components in a specific manner and connect them with copper traces.
Once you have designed your PCB, the next step is to manufacture it. You can choose to have your PCB manufactured by a professional PCB manufacturing company or make it yourself using a PCB milling machine. PCB milling machines can be costly, but they are an excellent investment for those who want to make small-scale PCBs.
Step 2: Stenciling the Soldering Paste
After manufacturing your PCB, the next step is to stencil the soldering paste. Soldering paste is a sticky mixture that facilitates the mounting of components onto PCBs. Stenciling can be done using a manual stencil, a stencil printing machine or a laser engraving machine.
Once you have stenciled the soldering paste on your PCB, it is essential to ensure that it is distributed evenly over the pads. This ensures that the components will sit correctly on the board.
Step 3: Placing Components on the PCB
The next step is placing the components on the PCB. This can be done manually or with a pick-and-place machine. The pick-and-place machine is a more efficient method, but it can be costly. Manual placement can be done using tweezers.
Once you have placed the components on the board, it is crucial to ensure that they are correctly aligned. Misaligned components can cause short circuits or other issues that can damage the board.
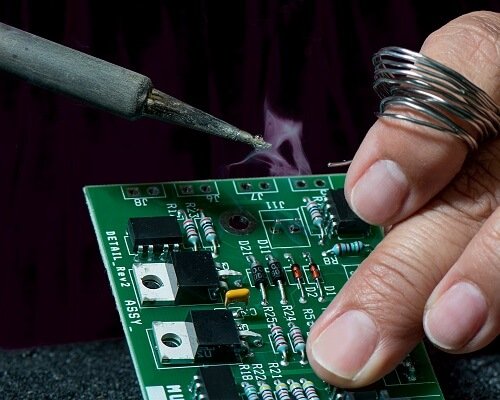
Step 4: Soldering the Components
The final step is soldering the components. This can be done using a soldering iron or a soldering reflow oven. The soldering iron is a more traditional method, but it requires a steady hand and good soldering skills. A reflow oven is a more modern and efficient method, but it can be expensive.
When soldering, it is essential to ensure that you do not apply too much or too little solder. Too much solder can cause bridges, while too little solder can cause a weak connection.
Benefits of Making Your Own PCBs
Making your own small-scale PCBs can be a cost-effective solution for electronic hobbyists. It is more efficient than hand soldering, and it allows for greater control over the design process. Additionally, it can be a fun and rewarding hobby for those interested in electronics.
Conclusion
Soldering PCBs requires certain skills and techniques, but it is not impossible to do it yourself. By following the four steps discussed in this blog, you can achieve successful results. Making your own small-scale PCBs can be a cost-effective solution for electronic hobbyists, and it can be a fun and rewarding hobby for those interested in electronics.