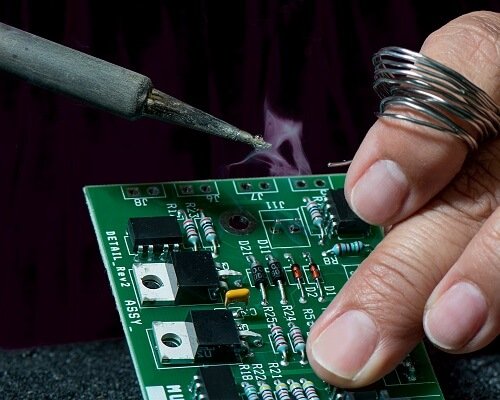
PCB soldering is an essential skill for anyone involved in electronic projects. Whether you are building a simple circuit or a complex electronic device, soldering is crucial to ensure the reliable and secure connection of components on your printed circuit board (PCB). In this blog, we will provide you with a simple guide on the steps involved in PCB board soldering, and some tips to help you achieve success.

Step 1: Preparation
Before you begin soldering, you need to ensure that you have all the necessary tools and materials. This includes a soldering iron, soldering wire, flux, tweezers, and pliers. You also need to have a clean and well-ventilated workspace, and protective gear such as safety glasses and gloves.
Step 2: Placing Components on the PCB
Once you have all the necessary tools, the next step is to place the components on the PCB. This can be done either by hand or with the help of a pick-and-place machine. If you are doing it manually, make sure to place the components in the right orientation and alignment. Use tweezers and pliers to hold and position the components.
Step 3: Applying Solder
After placing the components, the next step is to apply solder to the pads that connect the components to the traces on the PCB. Start by applying a small amount of flux on the pads to ensure that the solder adheres well to the surface. Then, heat the soldering iron and take a small amount of solder wire, and place it carefully on the pad. The solder should melt and form a smooth and shiny connection between the component and the pad. Do this for all the components on the board.
Step 4: Inspection and Cleaning
After you finish soldering all the components, it is time to inspect and clean the board. Use a magnifying glass to inspect the connections and ensure that there are no solder bridges or short circuits. You can also use a multi-meter to test the connectivity between different components. Then, use a clean cloth or a solder wick to remove any excess solder or flux residue.
Conclusion
PCB soldering may seem daunting at first, but with a little practice, it can become a straightforward and rewarding task. Remember to follow the steps carefully, and use the right tools and materials. Also, always prioritize safety and take precautions to avoid injuries or damage to your electronic components. Once you master the art of PCB board soldering, you can build your own circuits and devices, and take your projects to the next level. Happy soldering!